| In some occasions
, foil-backed paper is preferred because it can create and maintain
a stable 3-D shape.
However , it will add thickness to the model and look shiny in the exposed
area. Nevertheless , in some cases , it is an indispensable
choice
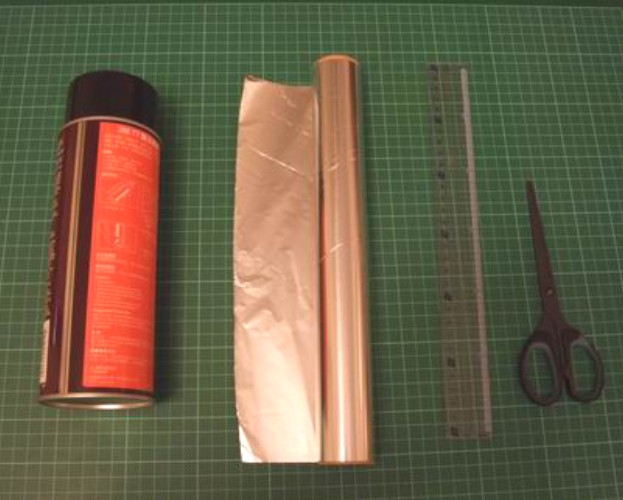
A) Tools
1/ aluminium foil
The most handy to get is those bought
from supermarket with at least 30mm in width.
The wilder ones will also do. The wilder means fewer overlaps
needed. As to the thickness , it's a matter of personal
preference but sometimes you have to cater for the need of particular
model. I myself prefer the thinner ones for general
use.
|
2/ pressurized spray adhesive
| The
kind for general purposes will do. |
3/ a pair of scissors
4/ a straight ruler
B) Procedures
|
1/ The process of spraying adhesive should best be done in outdoor
areas or well-ventilated areas like balcony etc. Avoid
doing this in indoor areas unless you have no choice. Usually
foil-backed paper is used in complex origami , which
usually requires large paper. Therefore it is advisable to have
four sheets of old newspaper placed together with minimal
overlaps on the floor , which acts as a means to prevent the
surroundings from being soiled by the adhesive. |
|
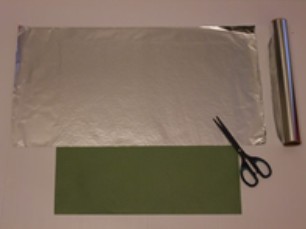
2/ Cut a rough a square out of a large sheet of paper . It
is safer to have an extra marginal width of 5cm to the original
in
mind.
|
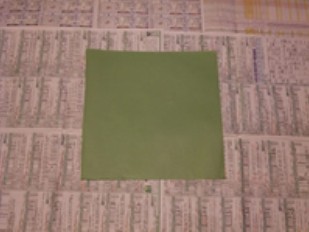
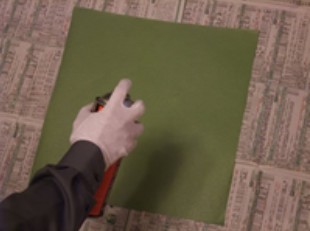
3/ The square is placed in the central
area of the newspaper mat with its back facing upward.
Shake the can for a while and spray the adhesive evenly
on the paper from a distance of about 20 cm above the paper
until every corner of the paper is filled with adhesive.
|
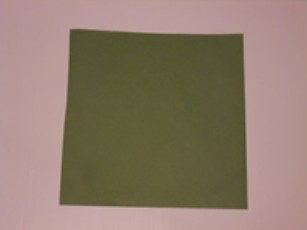
4/ After spraying , lift the paper
up carefully and then transfer it indoors where a large
flat surface is available , such as
dining table or floor. On the way of transfer , great care
should be taken to ensure the paper won't to itself. Otherwise
, it
might have to be discarded. After being wrapped into a ball
, the newspaper can be disposed of properly.
|
Note : It has the possibility of
getting the table surface soiled by the adhesive coming
from the margins of the paper. If you
are concerned about this , you may place a sheet of newspaper
on the table in advance. However , the newspaper is
somewhat not flat enough , which may cause undesirable effects.
Or you may use a large sheet of flat paper or disposable
plastic cloth if available.
|
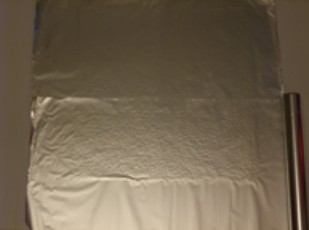
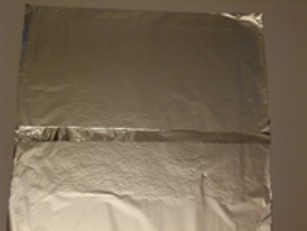
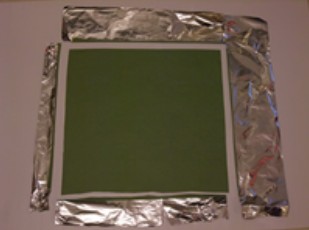
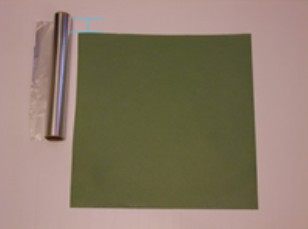
5/ Place the aluminium foil in a
way as shown in the photo. You should allow an extra length
of about 3cm beyond the
edge of the paper lest the roll should run at an oblique
angle.
|
Note : Don¡¦t cut the
foil into separate sheets in advance and place them onto the
paper
individually because it will create undesirable wrinkles.
|
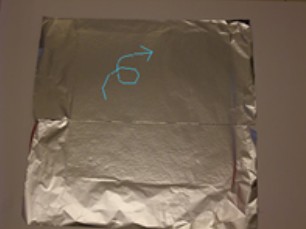
6/ While pushing the roll gently
forward with your left hand , smooth out the foil with your
right hand from behind
simultaneously. You may also use some accessory to help
if you like.
|
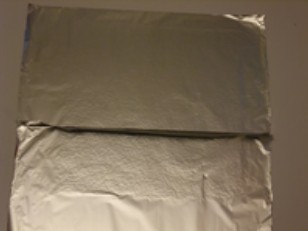
7/ When the
foil has exceeded the far end of the paper , cut it off with
a pair of scissors. Then repeat
the previous procedures on the blank area and also make sure
there is a 3cm strip of overlapping.
Repeat the above procedures if necessary until the whole paper
is covered by foil.
|
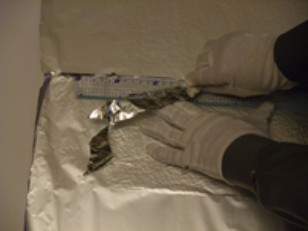
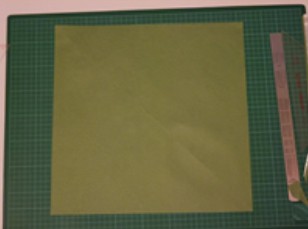
| 8/
The free strip of foil can be left untouched or can be removed
as shown in the photo. But care should be taken to avoid
tearing off the foil with adhesive. |
|
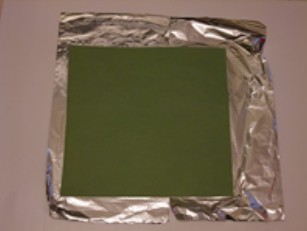
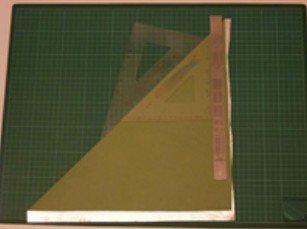
9/ Then turn the paper over and cut along the line about 1-2
cm inside the marginal edge of the paper.
Repeat on the other sides.
|
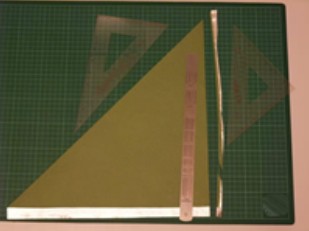
10/ Now follow the procedures of
cutting a regular square as described before.
|
[END]
|